Contents:
- What Is Botanical Illustration? (Featured Snippet)
- The Essential Supplies for Botanical Art
- Must-Have Materials
- Setting Up: Sourcing and Observing Specimens
- Where to Find Flowers and Foliage
- Observation Tips
- Step-By-Step: Your First Botanical Illustration
- Light Sketches
- Main Features
- Details and Corrections
- Ink or Color
- Texture and Shadows
- The Finishing Touch
- Quick Reference: The Beginner’s Botanical Illustration Checklist
- Botanical Accuracy vs Artistic Expression
- Mistakes Beginners Often Make (and How to Dodge Them)
- Rushing the Outline
- Ignoring Light Source
- Overusing Black
- Forgetting Proportion
- Botanical Illustration Courses and Community (US Focus)
- Frequently Asked Questions
- How do I start botanical illustration with no drawing experience?
- What is the best paper for botanical illustration?
- Can I use photos instead of real flowers?
- How long does a typical beginner botanical illustration take?
- Is botanical illustration still relevant in 2026?
- Next Steps: Sketch, Share, Grow
Botanical Illustration for Beginners – Guide
A single hand-drawn tulip takes just minutes to sketch, but the craft of botanical illustration has enchanted artists and nature-lovers for centuries. The peculiar curve of a rose’s petal, the delicate fuzz on a lamb’s ear leaf–they all deserve a closer look. For beginners, botanical illustration offers an accessible way to slow down, observe the natural world, and connect with flowers beyond the bouquet.
What Is Botanical Illustration? (Featured Snippet)
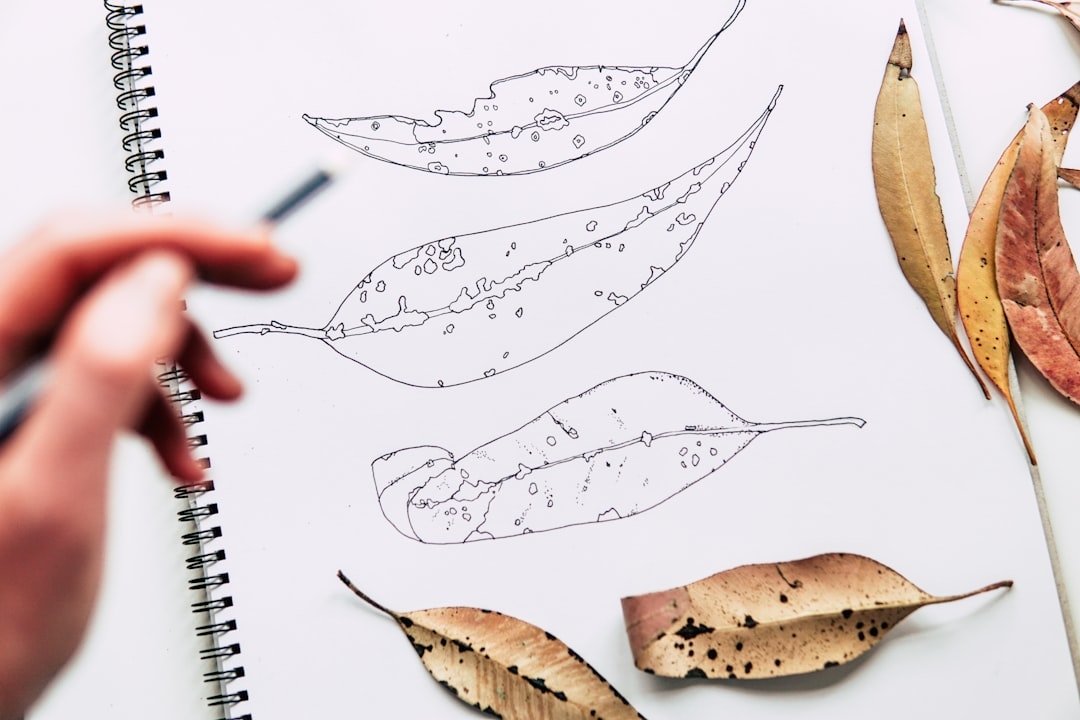
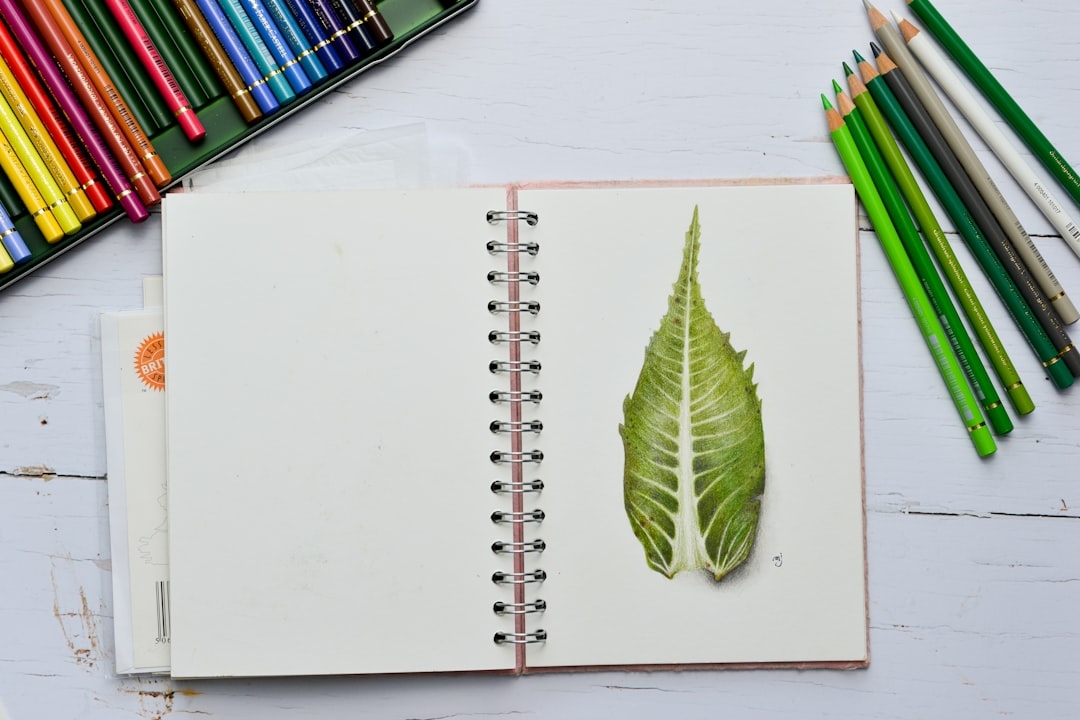
Botanical illustration is the art of drawing plants and flowers with scientific accuracy and artistic style, often for identification or study. Beginners start by observing real specimens, sketching outlines in pencil, and gradually adding details, colors, and textures to capture the unique features of each plant. Unlike loose floral art, botanical illustration prioritizes realistic shapes, proportions, and botanical details.
The Essential Supplies for Botanical Art
Before the first petal hits your paper, take stock of your materials. High-quality tools don’t need to break the bank, but starting with the right basics can make progress smoother.
Must-Have Materials
- Pencils: Start with a range–HB for general sketching, 2B for shading, 4H for precise, pale lines.
- Paper: Hot press watercolor paper (like Arches 140lb) is smooth and can handle graphite and washes.
- Erasers: Kneaded erasers are a favorite among botanical artists–they lift graphite cleanly and never tear paper.
- Fine liners or Micron pens: For permanent outlines, Sakura Micron pens (sizes 01-05) are a US favorite (about $12 for a set of 6 in 2026).
- Watercolor or colored pencils: Prismacolor Premier Colored Pencils are popular in the US for their blendability (a 24-color set runs around $45).
- Magnifying glass: Invest in a simple hand lens ($10-$20 at craft stores) for up-close study.
“Getting the wrong paper is the #1 frustration I hear from new students,” says Lisa Danvers, botanical artist and instructor at the New York Botanical Garden. “Quality paper keeps your colors bright and your lines crisp.”
Setting Up: Sourcing and Observing Specimens
Botanical illustration is less about imagination and more about what you see. The best artists start with real-life specimens.
Where to Find Flowers and Foliage
- Local florists: Many, like BloomsyBox or UrbanStems, offer fresh stems for $10-$20 per bunch in the US.
- Backyard and parks: Wildflowers, garden roses, native shrubs–growing close to home is free and legal if you pick responsibly.
- Farmers’ markets: Seasonal bunches, often with unique or heirloom varieties.
- Public gardens: Most American botanical gardens allow non-destructive sketching on-site (Brooklyn Botanic Garden and Chicago Botanic Garden being illustrator favorites).
Observation Tips
- Examine your flower from all angles–rotate the stem!
- Use a magnifying glass to notice fine hair, veins, or nectar guides.
- Make quick thumbnail sketches to capture key shapes before starting the main drawing.
Step-By-Step: Your First Botanical Illustration
Here’s a breakdown of the botanical illustration process for absolute beginners, emphasizing clarity, accuracy, and fun.
1. Light Sketches
Outline the basic shape with a hard pencil (4H or 2H). Don’t stress about details yet–block in the overall silhouette.
2. Main Features
Add the main lines: stem, main veins of leaves, outlines of petals. Compare angles and proportions to your specimen constantly.
3. Details and Corrections
Switch to a softer pencil (HB or 2B) and define the edges. Erase any stray guidelines with a kneaded eraser.
4. Ink or Color
- Ink: Carefully outline major forms using a fine liner. Let ink dry before erasing pencil lines.
- Watercolor or Pencil: Apply color from light to dark, layering as you go. For watercolor, keep your brush barely damp at first.
5. Texture and Shadows
Build up subtle shadows. For colored pencil, cross-hatch in the direction of the plant’s grain. For watercolor, thin glazes work well.
6. The Finishing Touch
Check for accuracy. Are the tiny serrations on your daisy petal there? Is the main stem parallel to the real one? Make small adjustments.
Quick Reference: The Beginner’s Botanical Illustration Checklist
- Choose a clear specimen
- Sketch basic shapes lightly
- Add main features and proportions
- Refine details
- Ink or color, building up layers
- Add shadows and texture
- Final accuracy check
Botanical Accuracy vs Artistic Expression
Every beginner wonders: how realistic does botanical illustration need to be? The answer depends on your goals.
| Botanical Art Type | Focus | Common Use | Artistic Style |
|---|---|---|---|
| Scientific Illustration | Extreme accuracy | Field guides, textbooks | Monochrome or realistic color |
| Contemporary Botanical Art | Balance of accuracy & artistry | Gallery, decor | Expressive, loose details |
| Decorative Floral Art | Expression, color | Prints, crafts | Stylized, imaginative |
As Dr. Martha Liu, curator at San Francisco Botanical Garden’s Illustration Program, puts it: “Botanical illustration is both a science and an art. The mark of a great beginner is honest observation–let your style emerge later.”
Mistakes Beginners Often Make (and How to Dodge Them)
Rushing the Outline
Jumping to color without a solid pencil sketch often leads to awkward, cartoonish flowers. Take your time on outlines; accuracy here saves headaches later.
Ignoring Light Source
Flat, lifeless color is usually due to even lighting. Pick a strong light source (a window or desk lamp). Notice where shadows actually fall.
Overusing Black
True black rarely exists in nature. Mix shadows from complementary colors, like purple and green, to keep your drawing lively.
Forgetting Proportion
Measure frequently. Compare the length of a petal to the whole stem, or how many leaf widths fit inside one bloom.
Botanical Illustration Courses and Community (US Focus)
Ready to level up? The US has a rich community for botanical art:
- The American Society of Botanical Artists (ASBA): National exhibits, online classes, and a robust mentorship program ($105 annual membership in 2026).
- New York Botanical Garden: Renowned certificate program; intro classes ($225-$325) offered quarterly.
- YouTube/Instagram: Search for US-based illustrators like @botanical_emma or @flora.draws for time-lapse videos and tutorials.
- Local art centers: Many, like the Los Angeles Art League, offer beginner workshops for $30-$50 per session.
“Learning botanical illustration online means you can join critique groups from across the country,” notes ASBA board member Eric Hall. “Students in Seattle get feedback from teachers in Florida overnight.”
Frequently Asked Questions
How do I start botanical illustration with no drawing experience?
Begin by sketching simple shapes from real flowers–circles, ovals, and lines. Practice drawing leaves and petals separately before attempting a full plant. Many American botanical gardens offer intro workshops tailored for absolute beginners.
What is the best paper for botanical illustration?
Hot press watercolor paper (smooth, heavyweight) is most recommended. Brands like Arches and Fabriano, available at US art supply retailers, hold both pencil and watercolor well and cost around $2-$3 per sheet in 2026.
Can I use photos instead of real flowers?
Photos help with reference, but actual flowers allow for better understanding of structure, texture, and color variation. Aim to use live specimens when possible for true-to-life results.
How long does a typical beginner botanical illustration take?
Most beginners spend 1-3 hours on a simple flower drawing. More complex or layered pieces may take several sessions; patience and breaks improve results.
Is botanical illustration still relevant in 2026?
Absolutely. Universities, botanical gardens, and even conservation groups in the US still commission botanical art for education and documentation. Plus, home décor and print markets value hand-rendered botanical designs now more than ever.
Next Steps: Sketch, Share, Grow
Ready to make that first tulip or eucalyptus sprig? Gather a fresh flower, test your pencils, and set aside an hour. Share your drawing with a friend, join a local or online group, and revisit the same flower later. You’ll spot progress within weeks. And remember, every great botanical illustrator started with a single, sometimes-wobbly line. So–what will you draw first?